Appearance
Upload Extension
Extension Upload Process
Accessing the Developer Console requires authorization via your Stripchat account.
Step 1. Become a Developer
- Log in: Navigate to the Extension Platform (
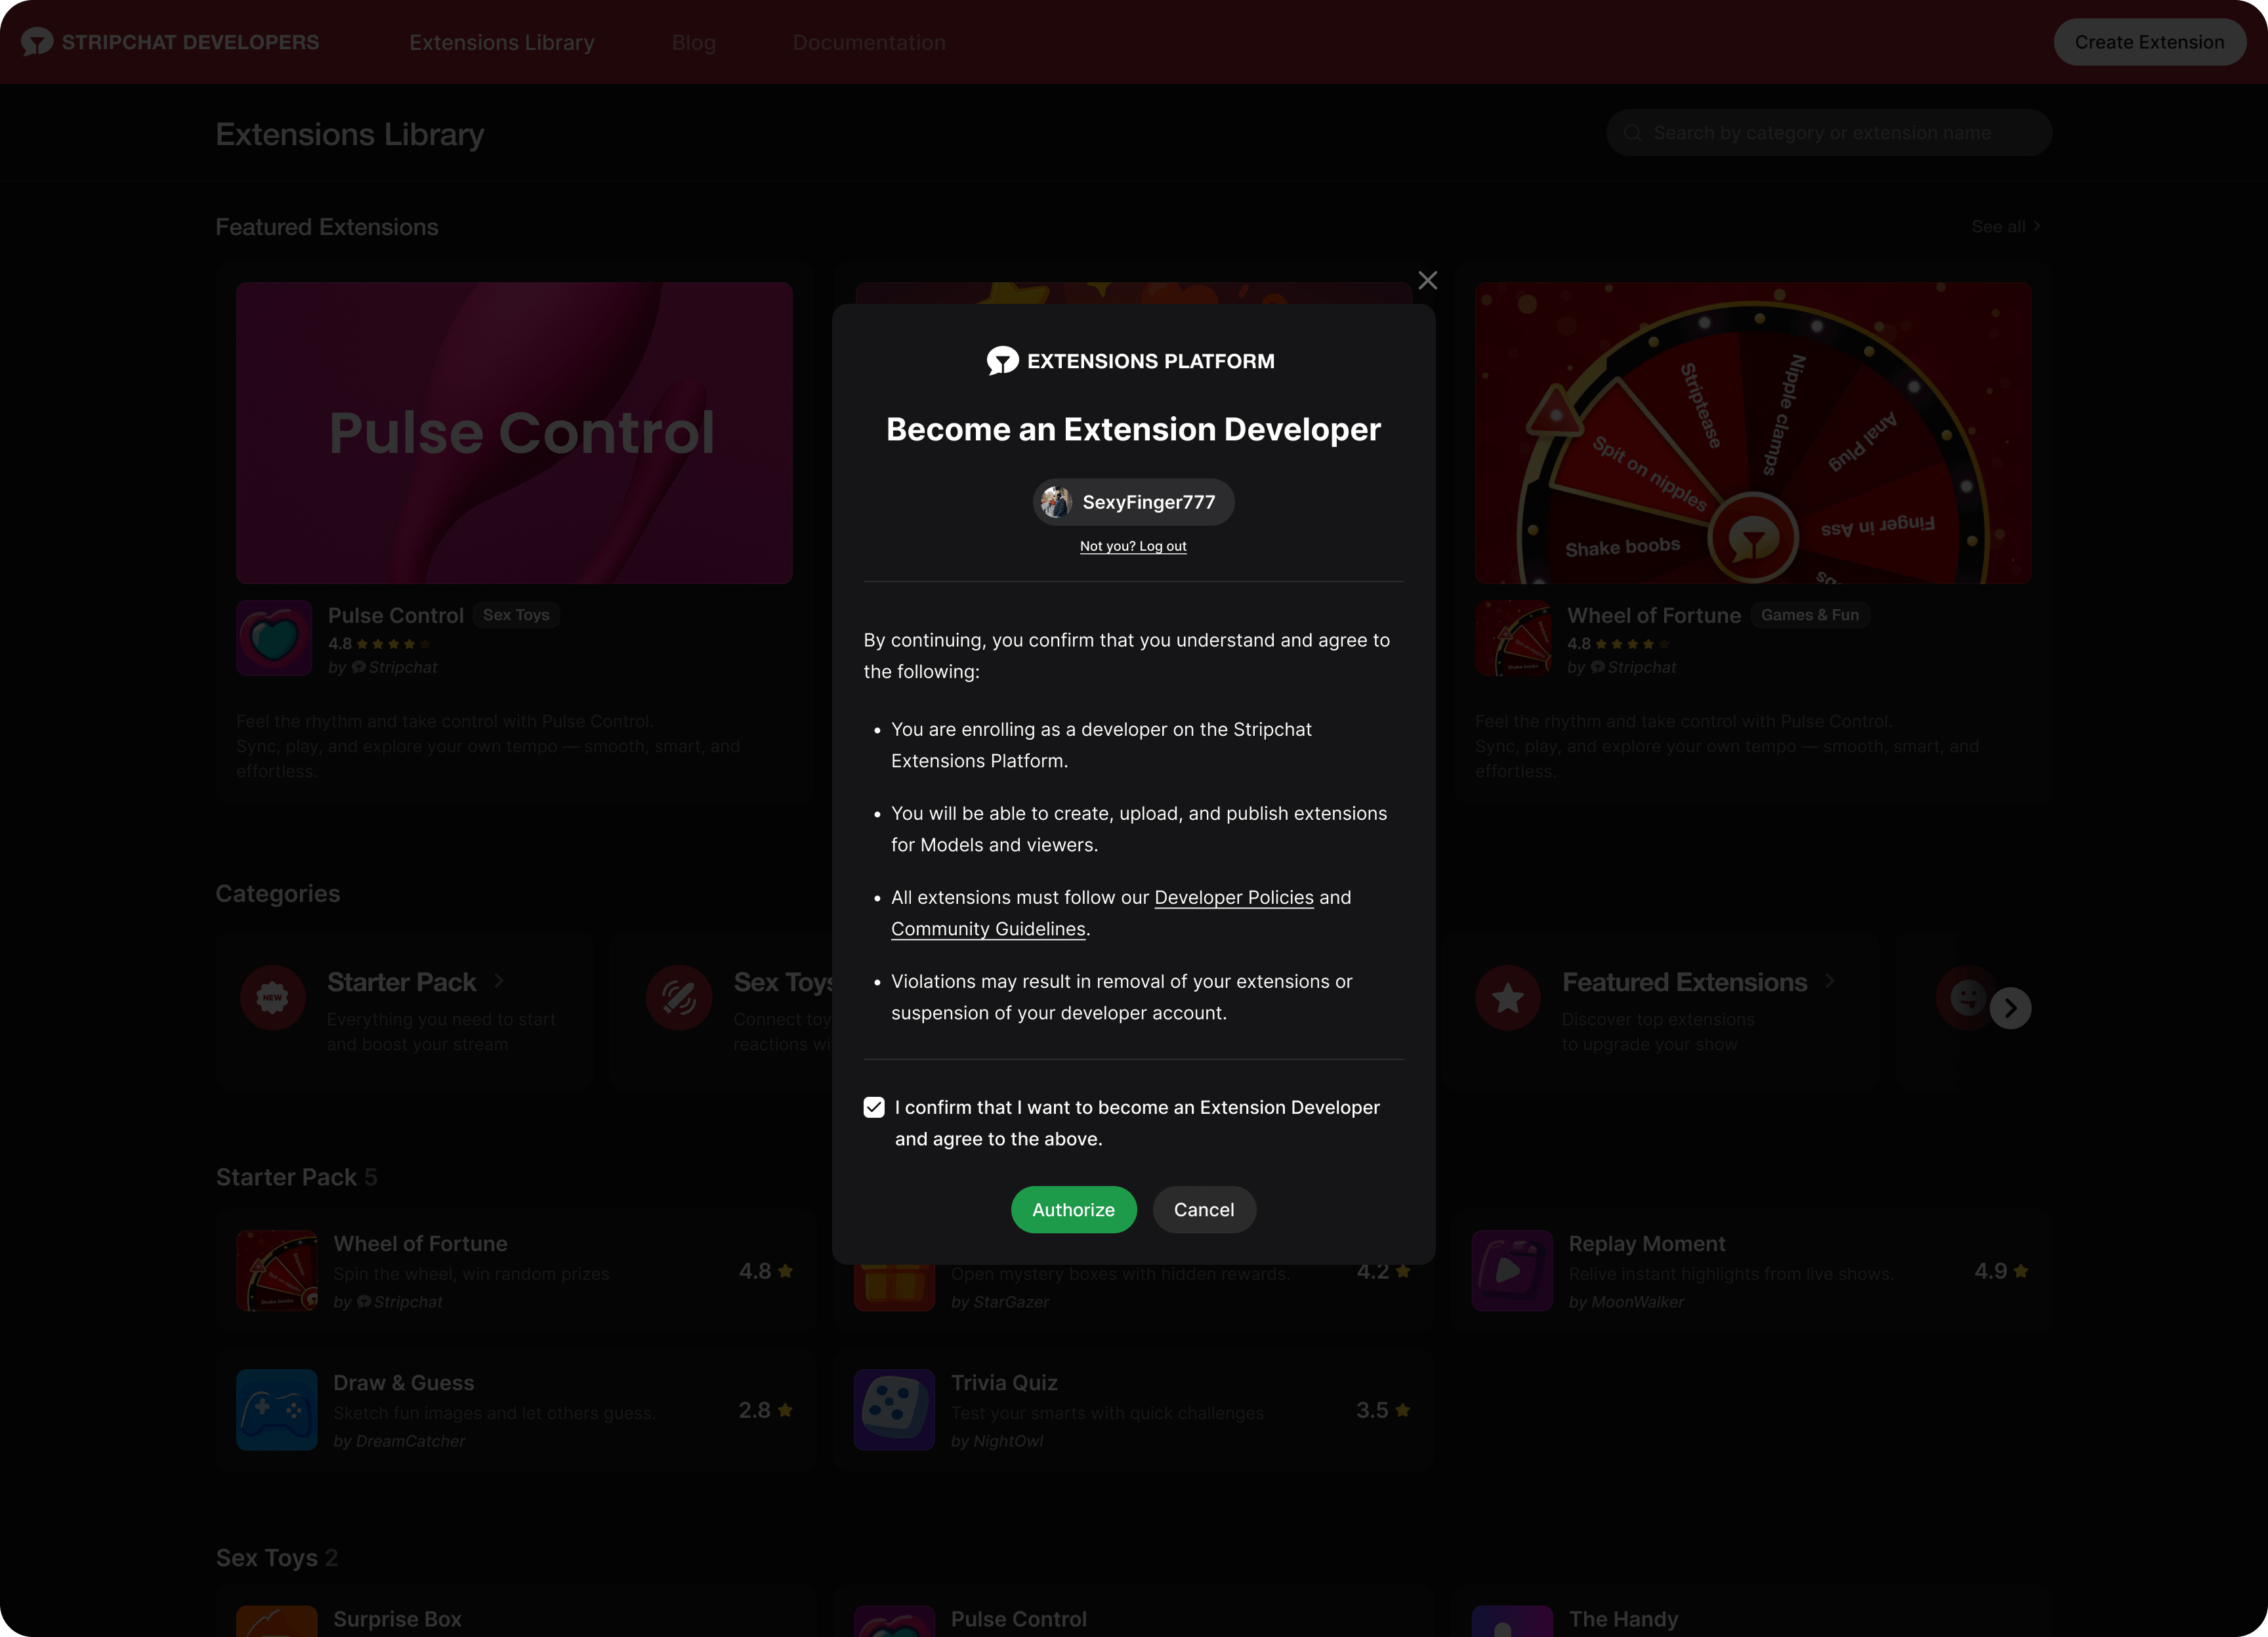
extensions.stripchat.com). The system uses pass-through authentication (tied to your main Stripchat session). - Authorize: On your first attempt to create an extension, a "Become an Extension Developer" modal appears.
- Confirm: Review the policies and click Authorize. This adds the Developer role to your account without affecting your status as a Model or Viewer.
Authorization modal shown on first developer onboarding:
Step 2. Upload Your Extension
The Platform uses a draft system. Your progress is saved automatically at every step.
TIP
For local iteration before submitting for review, see Local Development — you can run your extension from localhost and test it on a stand without re-uploading the ZIP on every change.
Create and Name
- From the Index or My Extensions page, click Create Extension.
- Enter a unique name (max 40 characters).
Create Extension entry point (Index / My Extensions page):

Extension naming field (unique name, max 40 characters):

Select Category
- The selected category determines which slots your extension is allowed to use.
- Slots are declared in
manifest.jsonunderviews.slots, not in the Platform UI — see Extension Slots for the per-category list.
After defining a version number (for example, 0.0.1), complete the four mandatory tabs:
- Version Details: summary and description.
- Restrictions: Define and whitelist specific external domains for images, media, and API calls (fetch). This configuration generates your Content Security Policy (CSP).
Domain Review & Approval
Every whitelisted domain is manually reviewed before your extension is published. Only include domains that are strictly necessary for your extension to work. Configurations that are not essential to your extension's core functionality, or that do not meet our security and stability requirements, may be rejected. The goal is to ensure all declared domains are necessary, transparent, and safe for the platform.
- Image Assets: upload your icon (used in extension slots) and promotional images (for library).
- Files: upload your built assets as a single
.ziparchive.
Version tabs with restrictions, assets, and files upload:

Submit for Review
- Once all tabs are filled, the Submit for Review button is available.
Submit for Review enabled after the version was published to the stand:

Submitting a version locks it for review. The QA team validates layout and behavior on desktop and mobile. Once approved, you can release the version to make it available to Models.